
Starting zinnia seeds indoors is a great way to get ahead of the gardening season, especially if you live in a colder climate. The key is to start the seeds early, before the last spring frost, yet not too early so that they don’t become tall and leggy before planting out.
Giving your zinnia seeds a head start by planting them a bit earlier indoors, allows you to enjoy the vibrant, colorful blooms sooner, than if you had waited to sow them during the outdoor planting season. This may not make a big difference in warmer climates, however for those in cooler climates with late spring frosts, it can make a huge difference for the blooming time of your zinnias.
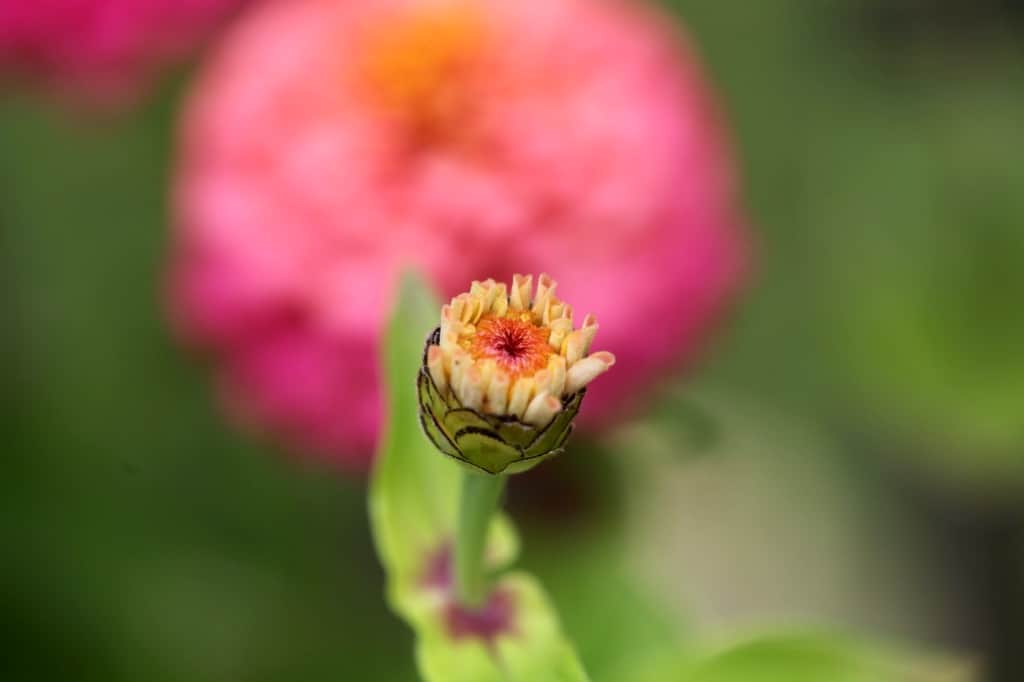
These colorful flowers are annual plants which complete their life cycle in just one growing season, therefore it can be beneficial to give them as much growing time as possible. During their lifespan they produce loads of flowers, due to their cut and come again nature.
Zinnias are heat loving plants, and dislike the cold weather. By starting them indoors, about 4 to 6 weeks before the last frost in your USDA plant hardiness zone, they will be a good size, and ready for planting when the weather finally warms up.
One of the many perks of growing zinnias from seed is their relatively short germination period. In just a few weeks, you can witness the exciting transformation of tiny seeds into flourishing plants. This quick turnaround makes zinnias a perfect choice for planting inside in late winter.

Benefits Of Starting Zinnia Seeds Indoors
Starting seeds indoors offers gardeners significant advantages, particularly in terms of controlling the germination environment. This can lead to improved germination rates and healthier seedlings. Here’s a deeper look into how these controlled conditions benefit seed germination, and an earlier start:
1. Extended Growing Season
By starting seeds indoors, gardeners can get a head start on the growing season. This is particularly beneficial in regions with cooler climates and short growing seasons, allowing zinnias to bloom earlier and for a longer period.
By giving your zinnias a head start, you can enjoy the vibrant flowers in your garden for a longer period, as your plants will already be closer to the blooming stage by the time you transplant them outdoors.
2. Improved Germination Rates
Indoor environments allow for much more control over the conditions in which the seeds are germinating.
By maintaining an optimal soil temperature, keeping a check on moisture levels, and keeping the planted seeds protected from the elements, gardeners can improve germination rates and ensure more seedlings sprout successfully.
3. Protection From Pests And Diseases
Starting seeds indoors can help to protect young zinnia plants from pests and diseases that are common outdoors. This controlled environment helps seedlings grow stronger and healthier before facing the challenges of the outdoor garden.
There are of course indoor pests that sometimes become an issue, however these can be managed with early intervention.

4. Better Climate Control
By germinating seeds indoors, gardeners can avoid the unpredictable spring weather, including late frosts or heavy rains, which can damage or kill young seedlings. Zinnias in particular are very vulnerable to frost, and a late spring frost can easily kill tender young plants.
Planting zinnia seeds indoors ensures your seedlings have the best possible start in life.
5. Selective Planting
Growing Zinnias from seeds indoors allows gardeners to select the healthiest and strongest seedlings for transplanting into their garden. This selection process ensures that only the best plants are grown, leading to a more vibrant and robust display of flowers.
6. Personal Satisfaction
Propagating these beautiful flowers is surprisingly simple and efficient. There is a unique satisfaction and sense of accomplishment in nurturing plants from seed to bloom.
Starting zinnia seeds indoors and watching them grow can be a rewarding experience for gardeners, offering a personal connection to the flowers that adorn their gardens.

Choosing The Right Seeds
There are various types of zinnias to choose from, and each of the zinnia varieties offers distinct advantages and characteristics. Some common zinnia types include:
Types Of Zinnia
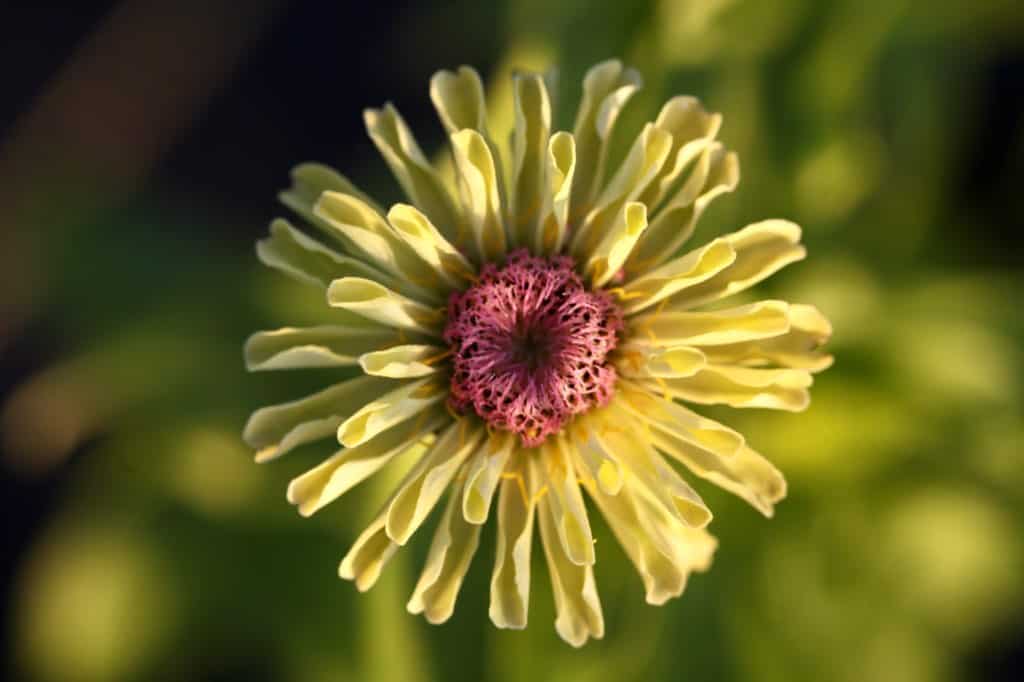
1. Zinnia elegans: This popular species, also known as common zinnia, comes in numerous varieties and colors, and is a great variety for the cut flower garden. They have large, daisy-like flowers, often with double blooms, and are tall zinnias which can grow up to 4 feet in height.
2. Zinnia augustifolia: Commonly called narrow-leaf zinnia, these plants produce smaller, single flowers and typically reach up to 18 inches in height. They are more resistant to diseases than Zinnia elegans.
3. Zinnia haageana: This variety, also known as Mexican zinnia, has smaller flowers and unique bi-colored petals. They are heat and disease resistant, making them an excellent choice for warmer climates.
Each Zinnia variety brings something unique to the garden, whether it’s the flower size, color, plant height, or disease resistance. Gardeners can choose based on the specific look they’re going for, the growing conditions, or the desired use (e.g., cut flowers, borders, or container gardening).

Seed Starting Basics
Time For Sowing
It’s essential to sow your zinnia seeds at the right time to ensure healthy growth and blooms. Generally, you should start your seeds indoors 4-6 weeks before the last expected frost date in your area.
To find the last predicted spring frost for your growing zone, you can find your frost dates here.

Required Supplies
There’s a list of basic supplies you will need to start your zinnia seeds indoors. Assemble the following before beginning:
- Zinnia seeds
- Seed starting mix (good quality, light and well draining)
- 72 cell seed starting trays, or small pots with drainage holes
- Leakproof bottom trays for under the cell trays, for bottom watering and water drainage
- Heat mat (optional, yet preferred)
- Grow light (optional, yet preferred)
- Plant labels, or tape for labeling
- Vermiculite

Seed Sowing Process
Soil Preparation
- Fill seed trays or small pots with your prepared soil mix, filling to the top.
- Tap the trays against the table to remove any air pockets in the soil, and fill in any empty spaces as needed.
Planting Depth And Spacing
- Make a 1/4″ deep hole in the middle of each seed cell or pot.
- You can do this easily and quickly with your fingertip, or with an object such as the eraser end of a pencil.
- Place one seed into the little indent that you just made.
- Cover with some soil, or alternately cover with vermiculite. I like to use vermiculite, as this material will help to keep moisture in the soil by preventing evaporation, like a mulch.
- Vermiculite also helps to keep down or deter fungus gnat infestations, which are common in indoor gardening spaces.

Label The Tray
- Label the tray with the zinnia variety, if you are planting multiple types.
Watering Techniques
- Bottom water the tray after planting, and bottom water as needed thereafter. This watering technique encourages strong root growth, and prevents overwatering. It also helps to keep the water off the leaves.
- Do not allow the soil to dry out while the seeds are germinating, as this can lead to their demise.
- Monitor the soil’s moisture levels daily and water as needed, to keep the soil consistently damp but not wet.
Provide Bottom Heat
- Place the tray on a heat mat if possible, which will warm the soil to ideal germination temperatures.
- Ideal soil temperature for zinnia seed germination is 70-75°F (21-24°C). A heat mat however is not crucial, and the seeds will still germinate, although may take longer in the cooler soil.

Zinnia Seedling Care
Zinnia seeds can germinate fairly quickly under ideal conditions, and with good quality fresh seeds. Germination can occur within 5-7 days, although can take up to two weeks.
It’s important to continue to care for your newly germinated seedlings, providing a healthy growing environment for healthy plants.
When 60% of the seeds have germinated, it’s time to remove from the heat mat and to place under lights.
Light Requirements
- To provide optimal lighting for your zinnia seedlings, simulate sunlight exposure by using fluorescent or LED grow lights.
- Position these lights 6 inches above the seedlings for optimal growth. Leave the lights on for about 12-16 hours per day, then turn them off for at least 8 hours to give the seedlings a rest period.
Moisture Requirements
- Continue to water seedlings as needed, and make sure not to allow the soil to dry out between waterings, which can cause stress for the plants.

Pinching
- Pinching your zinnia seedlings can seem very counter-intuitive, especially if they have begun to develop little flower buds. They often do this, even when they are still in their cell trays.
- The pinching process involves snipping the stems with a pair of sharp clean scissors or snips. Cut about 3-4 inches off the top of the stem, down to a set of leaves.
- This pinching process will stimulate the plant to produce more stems, and will set the stage for a productive season, with long stems and many blooms.


Transplanting To The Garden
When it’s time to move your zinnia seedlings outdoors, there are a few important steps to follow. In this section, we’ll cover the process of hardening off your seedlings, as well as the proper timing and techniques for transplanting them to your garden.
Hardening Off Seedlings
Before transplanting your zinnia seedlings, it’s essential to help them gradually adjust to the outdoor conditions. This process, known as hardening off, involves:
1. Gradually increasing sun exposure: Start by placing your seedlings in a sheltered, shaded area like on a covered porch, or under a tree. Over the course of 7-10 days, slowly increase the amount of direct sunlight they receive each day.
2. Acclimating to outdoor temperatures: Ensure that the outdoor temperature stays above 50°F (10°C) during the hardening off period. Bring your seedlings inside at night if the temperature is expected to drop.
3. Gradually expose to the wind and rain: Even the wind or a heavy rainfall can cause injury to tender seedlings, until they are completely hardened off. Be aware of any changes in the weather that may expose the seedlings to these elements, and take steps to protect them by bringing them back inside.
Remember, patience is key during this process. Taking the time to properly harden off your zinnia seedlings will minimize the risk of transplant shock and ensure a healthy, successful garden.

You can learn more about hardening off your seedlings here.
When To Transplant
- When it comes to transplanting your zinnia seedlings, timing is crucial. Transplant zinnia seedlings outdoors after the danger of frost has passed and the seedlings have developed 2-3 true leaves.
- Make sure to be aware of your last frost date, and keep an eye on the forecast as well.
- It should be noted that transplant shock can have a significant impact on the plants. This stress can sometimes cause double-bloomed flowers to produce single blooms for a period of time following this period of stress.
- So make sure to be gentle during the transplanting process.
Spacing
- Zinnias need enough space to grow and thrive. Transplant your seedlings with a spacing of at least 9-12 inches (23-30 cm) apart.

How To Transplant
- Ensure that the zinnias have gone through the hardening off process described earlier.
- Choose a sunny location. Zinnias thrive in full sun, so select an outdoor location that receives at least six hours of sunlight per day. Full sun is best, for best flowering.
- Prepare the garden bed by loosening the soil with a garden fork or rake, then amend with lots of organic matter, such as compost or well-rotted manure.
- It’s important to have well-drained soil in the planting location.
- Make a hole that’s the same size as the seedling’s rootball.
- Loosen the root ball in the cell tray with a butter knife, and carefully remove the seedling by holding the stem.
- Set the seedling into the hole, making sure the top of the rootball is level with the surrounding soil.
- Fill the hole with soil, gently pressing it down to eliminate any air pockets.
- After transplanting, water your zinnias deeply to help them settle into their new environment.


Transplanting Into Containers
- Your zinnia seedlings can also be transplanted into containers, as zinnia flowers do very well growing in pots.
- Just make sure to use larger containers, and ensure good spacing between plants for good air circulation and root growth.


How Long Do Zinnias Take To Bloom?
The blooming time for specific cultivars and hybrids can vary, but most fall within the 50 to 70-day range from seed to first bloom. Dwarf and compact varieties often bloom on the earlier side of this range, while taller, larger-flowered varieties may take a bit longer.
It’s important to note that optimal growing conditions — including full sun, well-draining soil, and regular watering — are crucial for promoting the healthiest growth, and earliest blooming in zinnia plants.
Additionally, starting seeds indoors can give a head start to the growing season, potentially leading to earlier blooms, especially in regions with shorter summers.
Regardless of the specific variety, Zinnias are celebrated for their relatively fast transition from seed to bloom, making them a rewarding choice for gardeners eager to enjoy colorful flowers in their summer gardens.


Frequently Asked Questions
Can Zinnias Be Directly Sown Outdoors?
Yes, you can direct sow zinnia seeds outdoors after the last frost. However, starting them indoors gives you a head start on the growing season and also allows for more controlled germination.
What Is The Ideal Temperature For Starting Zinnia Seeds Indoors?
The ideal temperature for starting zinnia seeds indoors is between 70°F and 75°F (21°C to 24°C). You can maintain this temperature by using a heat mat underneath the seed trays, or by placing them in a warm room.
The best way to warm the soil however is by using a heat mat under the seed tray.
What Type Of Soil Is Best For Starting Zinnia Seeds Indoors?
For germinating zinnia seeds indoors, use a high-quality, well-draining seed-starting mix. This type of soil is sterile, and light and airy, allowing the seeds to establish strong roots, and properly retain moisture.
Avoid using heavy garden soil, as it can be too compact and may hinder the germination process. Garden soil is also not sterile, and therefore can place the seeds at risk for other issues, such as pests and fungal diseases, such as powdery mildew.

What Are Common Issues To Look Out For When Starting Zinnia Seeds Indoors?
Some common issues when growing zinnias from seed indoors include:
1. Damping-Off:
If seedlings wilt and collapse, they might be suffering from damping-off, a fungal disease that affects young plants. To prevent this, maintain good air circulation, avoid overcrowding, and allow the soil surface to dry slightly between waterings.
2. Leggy Growth:
If the seedlings are tall and spindly, they might not be receiving enough light. Ensure that your zinnias get at least 12 to 14 hours of bright light daily. Consider using a grow light to supplement natural sunlight for better growth.
3. Slow Germination:
If the zinnia seeds are taking longer than usual to germinate, the temperature or soil moisture might need adjusting. A heat mat will likely help. Maintain a consistent temperature and keep the soil moist but not too wet. Also make sure to use fresh seeds.
4. Started Too Early:
Be careful not to start your zinnia seeds too early, because they will grow quickly. If started too early, they may be ready for planting out well before the weather allows. In this case, they will likely need more growing space and head room indoors, as they continue to stretch and grow.
5. Fungus Gnats:
Fungus gnats are small flies that you might notice flying around indoor plants or running on the soil surface. Their larvae feed on organic matter in the soil, and sometimes even plant roots.
The larvae can damage young zinnia seedlings by feeding on their roots, potentially hindering their growth, or even killing them.
To prevent or minimize a fungus gnat infestation:
- Let the top layer of soil dry out between waterings to discourage gnat larvae, which prefer moist conditions.
- Use a well-draining seed starting mix to prevent water from pooling around the roots of your plants.
- Sprinkle the soil surface with vermiculite, which can deter the gnats from entering the soil to lay their eggs.

Conclusion
Starting zinnias from seed indoors is a fun and exciting project. Zinnias are one of the easiest flowers to germinate and grow.
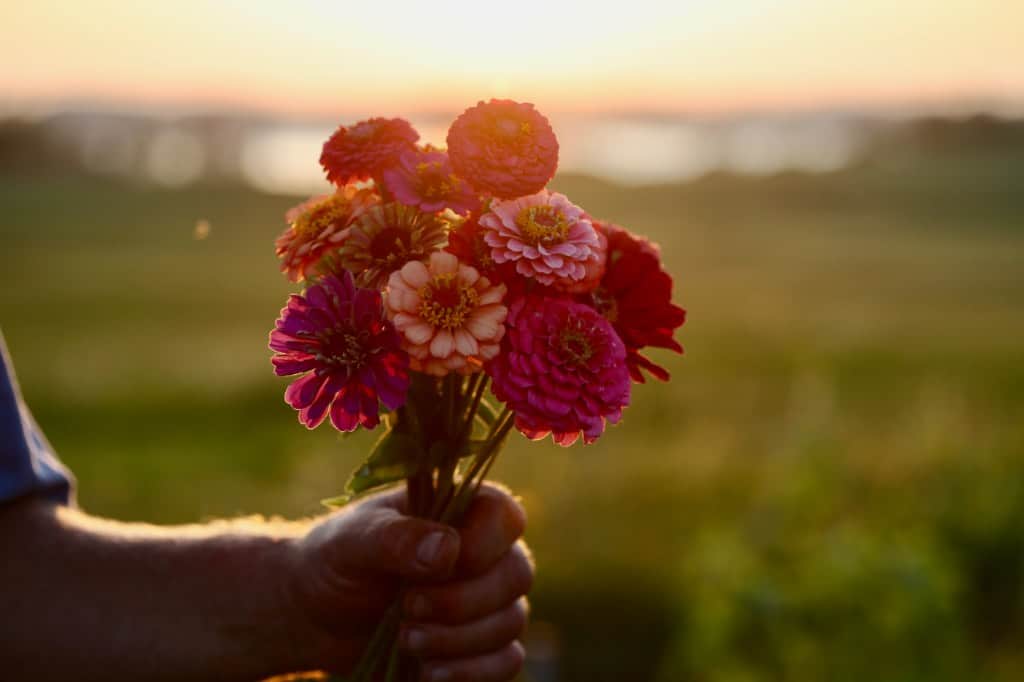
Zinnias are a popular choice for flower gardens, with a wide variety of colors and a variety of shapes and sizes. With a little preparation and care, anyone can bring the vibrant beauty of zinnias into their garden.
From selecting the right soil and seeds, to providing the perfect conditions for germination, each step brings you closer to a flourishing garden filled with the sweetest blooms.
The resilience and low maintenance of these flowers make them a perfect choice for any gardener. The flowers make excellent cut flowers, which will fill your vase from summer to fall.
Remember, the journey of gardening is one of patience, learning, and joy. Each seedling that sprouts is a testament to your care and dedication, and there’s nothing quite like the satisfaction of seeing your garden come to life, with the flowers you’ve nurtured from seed.

Have you ever tried starting your zinnia seeds indoors? Be sure to leave a comment below to share your experience!
Other Posts You May Like:
Pin It For Later!

Leave a Reply