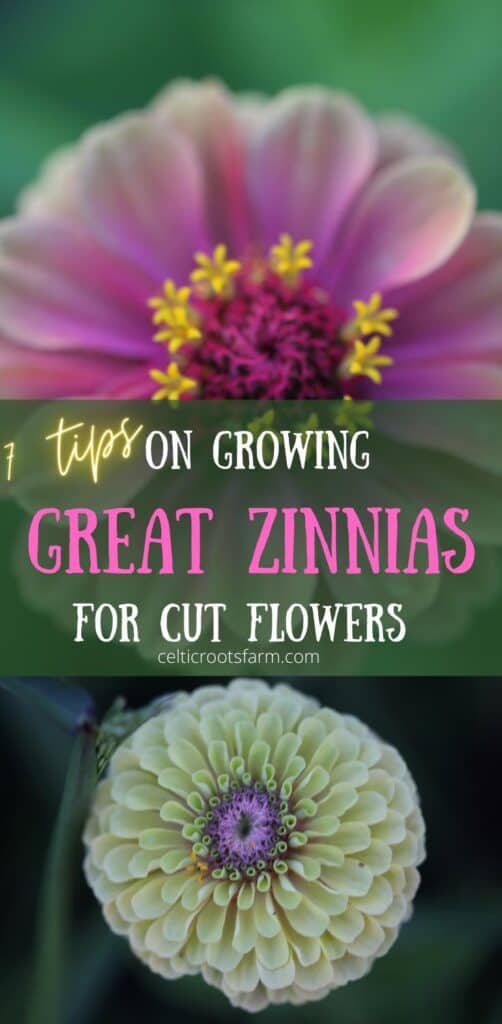
A spectacular cut flower, the zinnia has a special place in our cut flower garden. Not only is it easy to grow, it comes in a wide array of colors and varieties, making it a versatile flower for arrangements and bouquets. Let’s look at some tips for growing great zinnias for cut flowers.
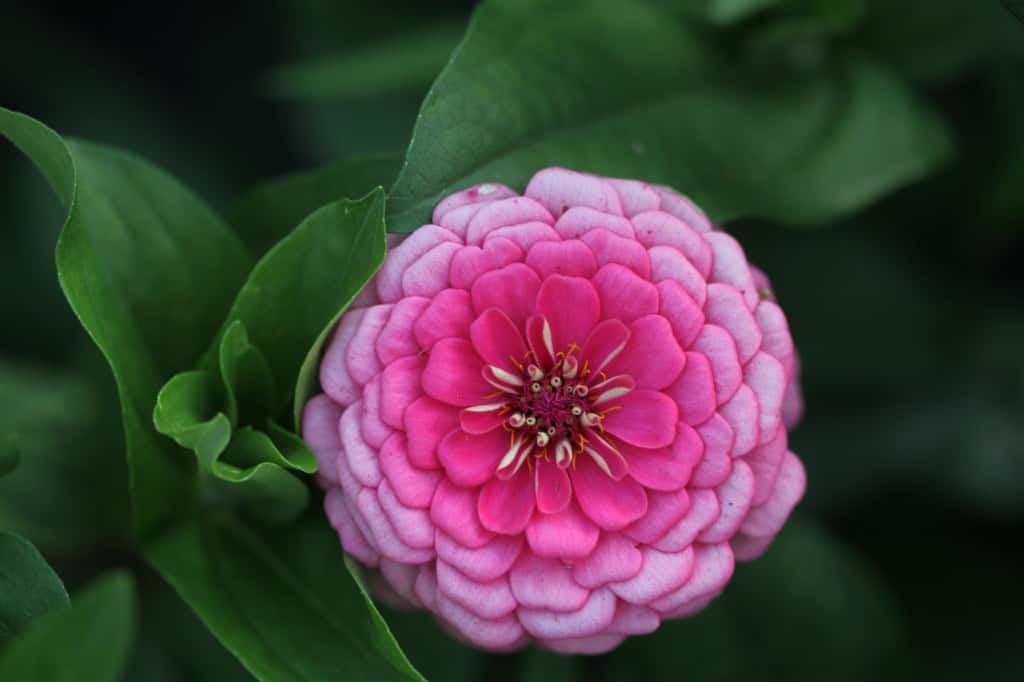
Do Zinnias Make Good Cut Flowers?
Absolutely! They are one of our favourite flowers to grow.
-
They come in many varieties and cheerful colors
-
They are easy to grow from seed
-
They can grow in different locations and soil conditions
-
They are very easy to care for
-
They continue to bloom all summer long
-
You can save the seed for the next season!
Tips For Growing Great Zinnias
1. Choose Your Zinnia Varieties
Choosing your zinnia varieties really is a matter of personal preference. There are so many colors and varieties to choose from, you may not know which zinnias to start with.
Start by choosing the ones that you think you would like, and go from there. Go for the colors and shapes that you are drawn to.
Then try them in your garden.
There are some that I thought looked interesting on the seed package, that did not look great when it was in full bloom. An example of this was Zinnia Señora…
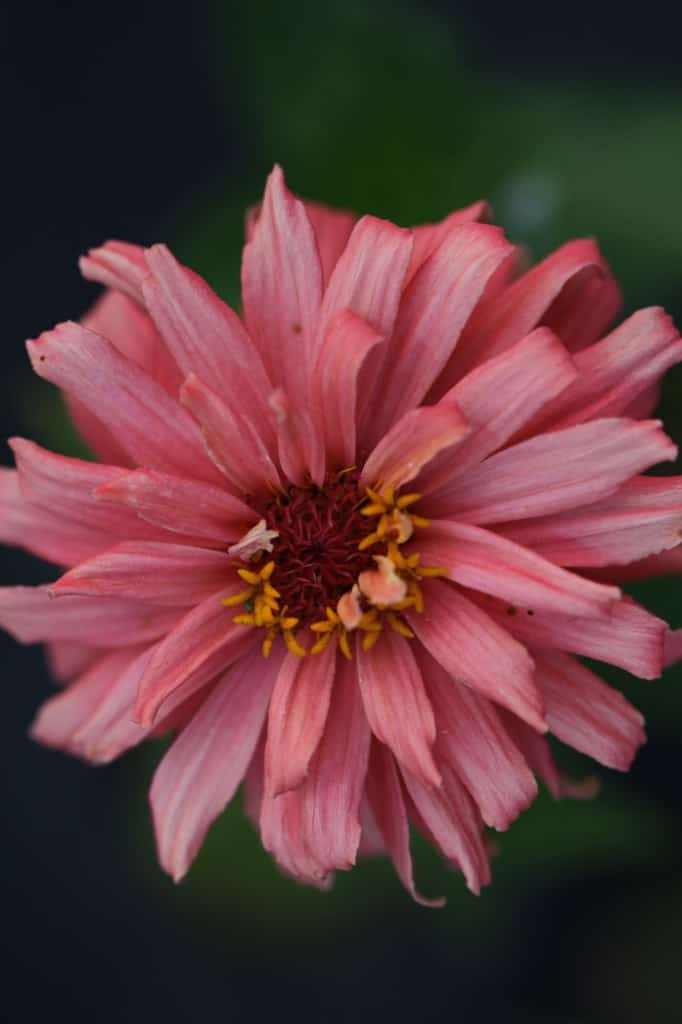
ZINNIA “SEÑORA”
Zinnia Señora has petals that were a bit ragged, twisted, tattered, and shaggy. I didn’t use one bloom in the bouquets.
However…
Perhaps I should have been more creative!
I have since seen pictures of this flower with beautiful full bouquets…of only Señora!
This is the look of this unique flower. Twisted and ragged. Tattered and shaggy.
I will certainly be trying it again this year.
A bouquet full of Señora blooms alone is striking.
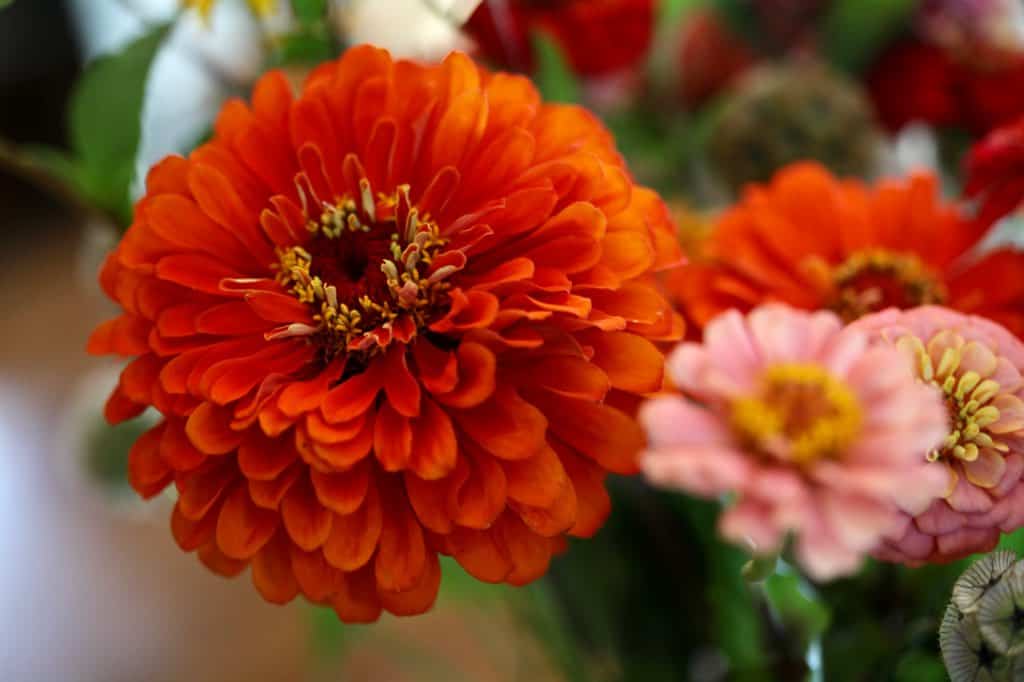
Then there were other zinnias that were absolutely amazing, and more beautiful than expected. These are the zinnias that I feel will always have a place in our garden.
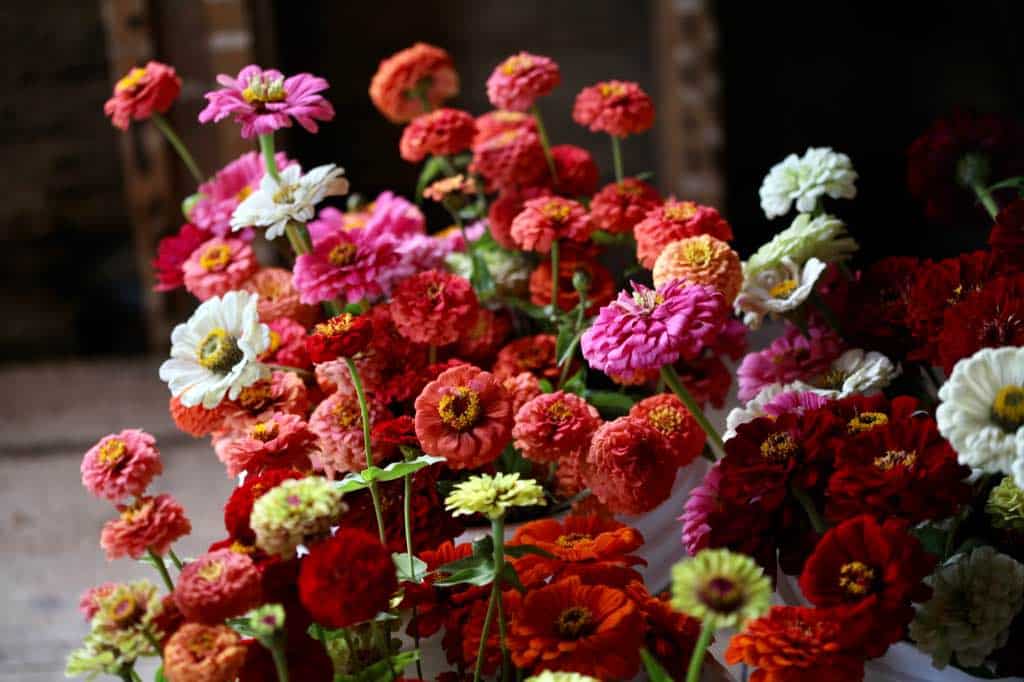
Our favourite varieties at this time are the Queen Lime Series, the Oklahoma Series, and the Benary’s Giants.
2. Decide Your Planting Location, and Method Of Planting
Zinnias do best in a sunny location. Plant in full sun.
When is the best time to plant zinnias?
This is dependent on your method of planting:
-
Zinnias can be direct seeded, straight into the garden, once the soil has warmed and the chance of all frost has passed.
-
Zinnias can also be started indoors in trays under grow lights, 4-6 weeks before last frost, and then transplanted out into the garden once the danger of all frost has passed.
We have chosen to transplant seedlings rather than direct sow, due to our weed pressure, as well as our later last frost dates here in zone 5b.
Days to maturity are approximately 75 – 90 days.
Since we are in zone 5b and our spring is often affected by late frosts, we chose to start indoors under lights.
3. How To Germinate Zinnia Seeds
Zinnia seeds are very easy to germinate and grow. They are good for the beginner gardener, or for the master gardener!
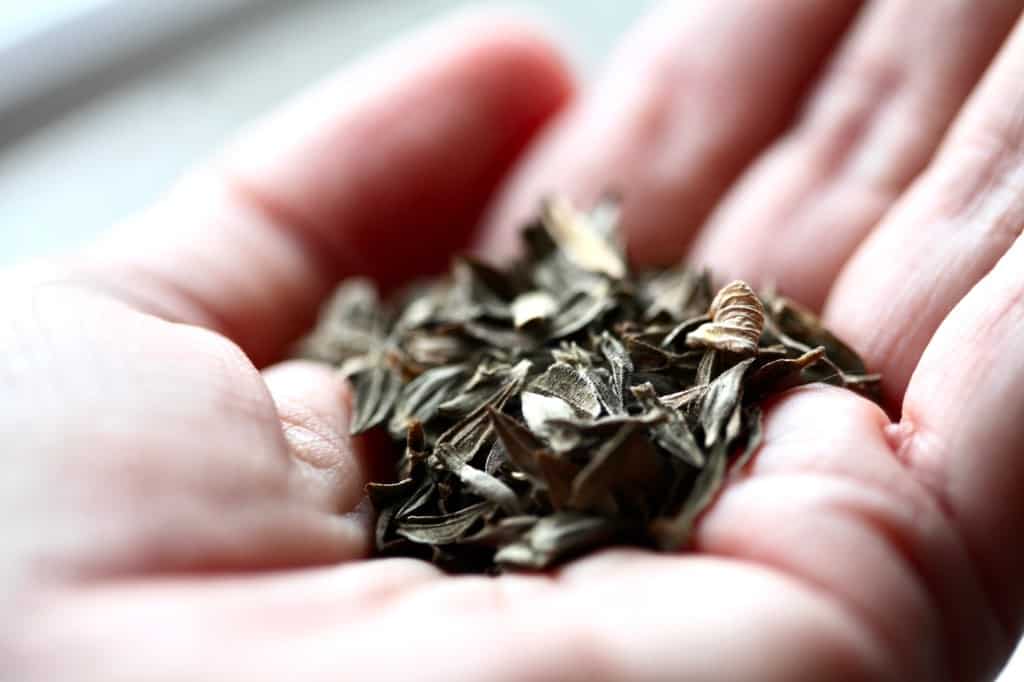
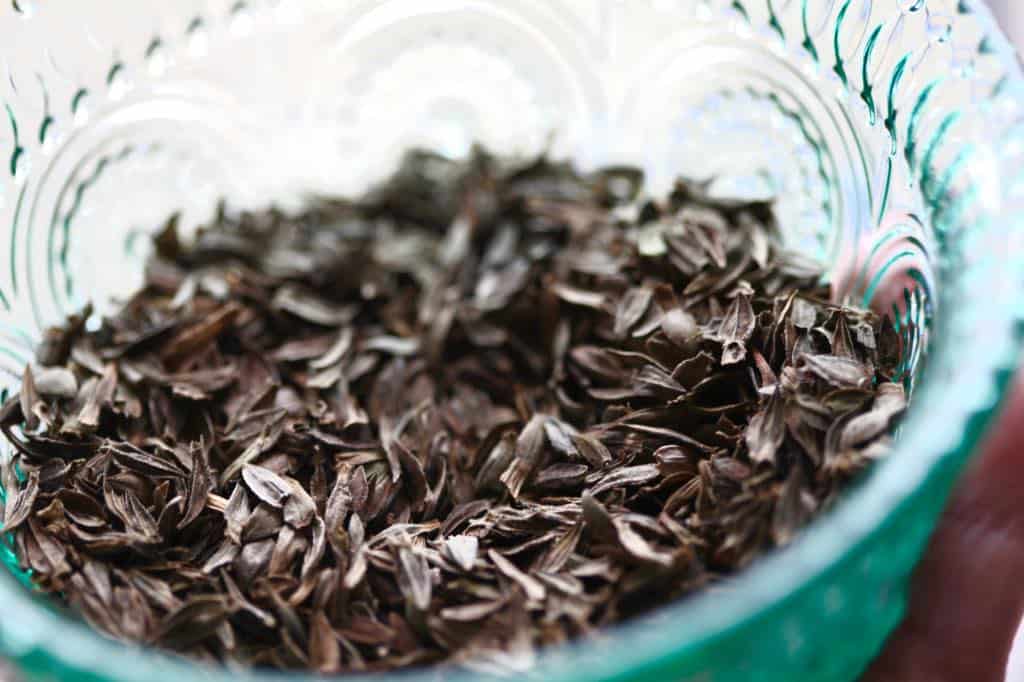
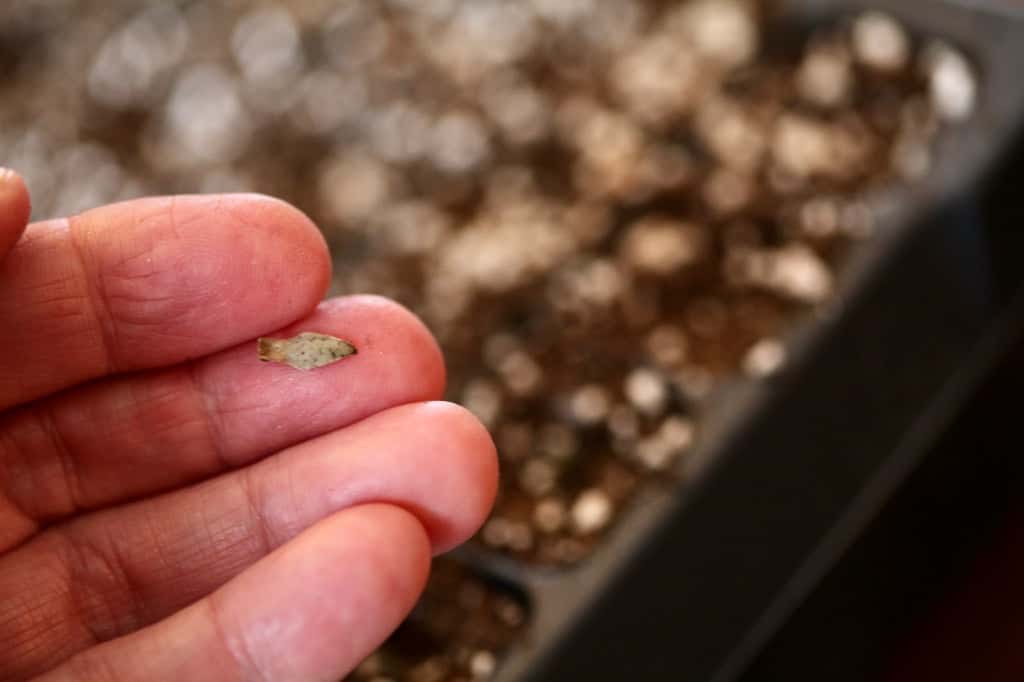
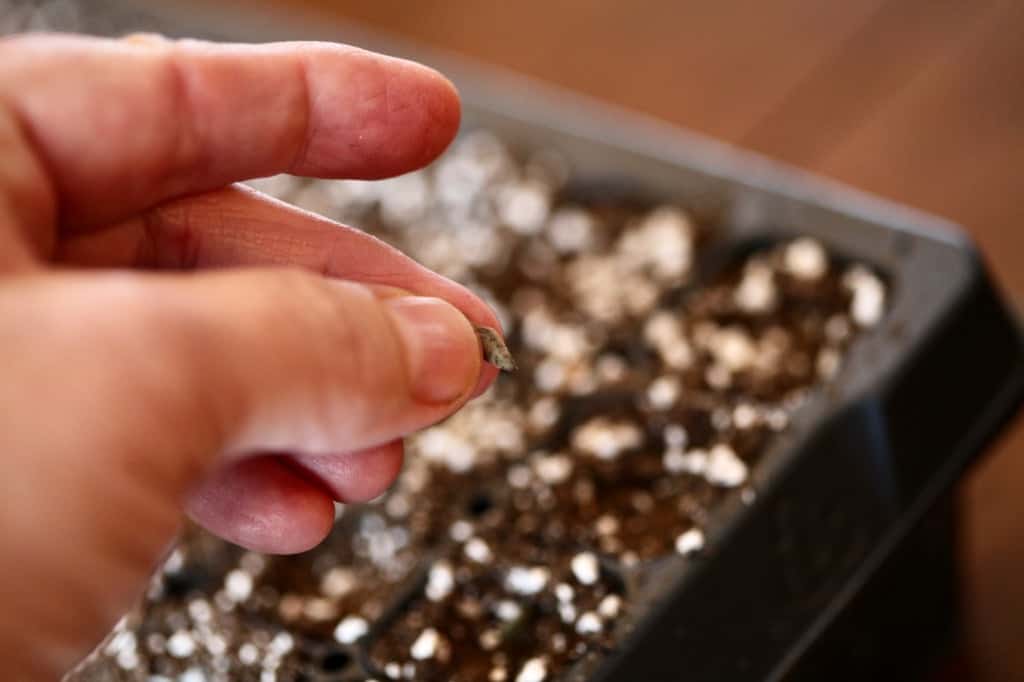
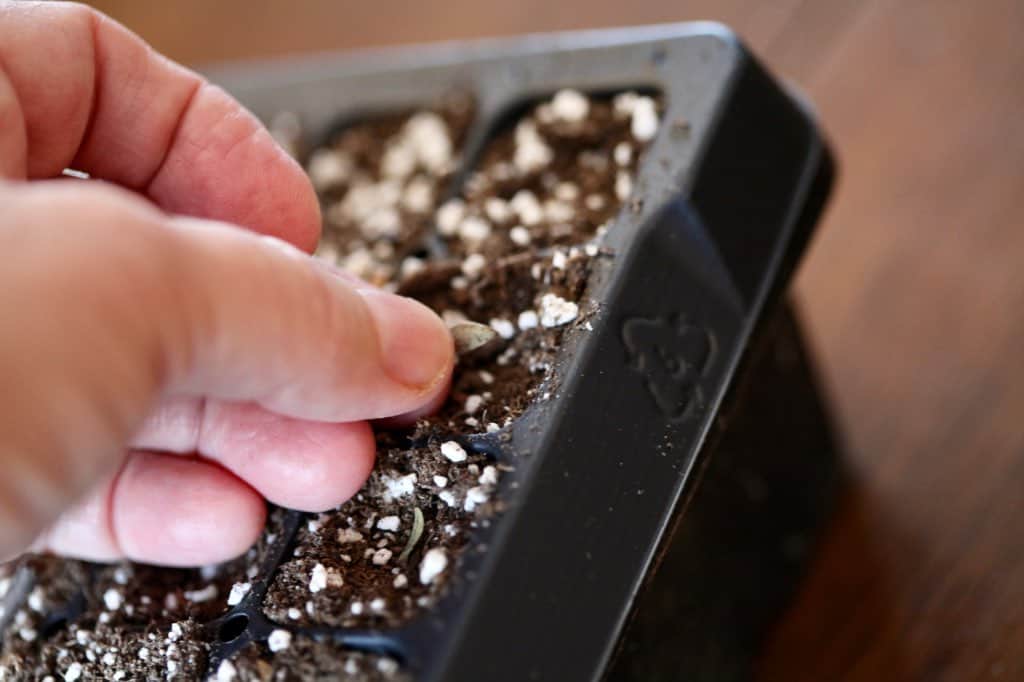
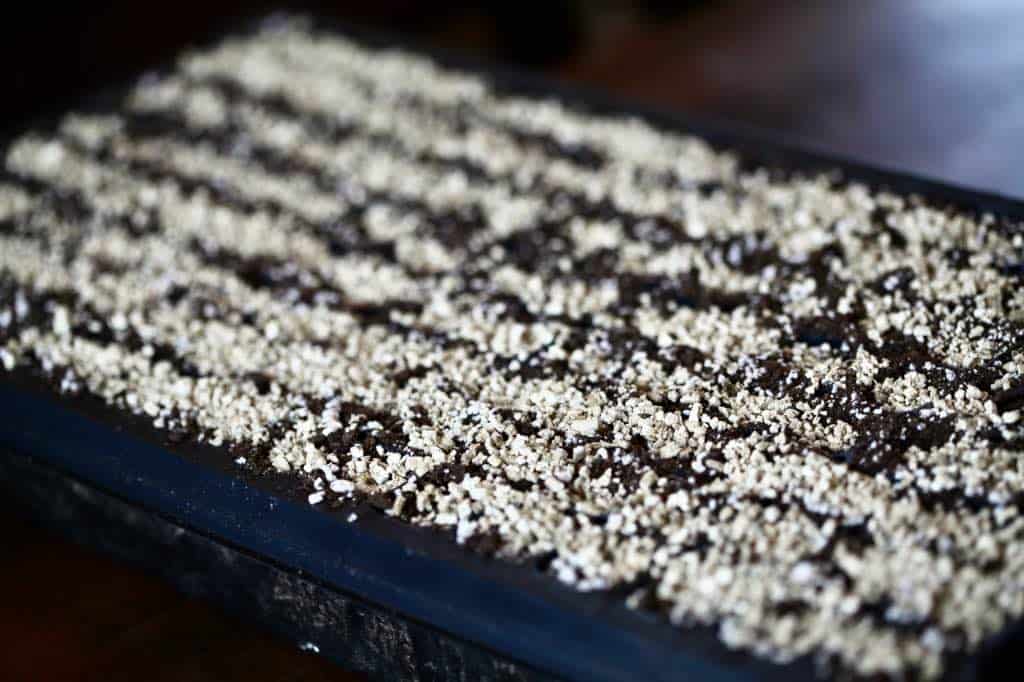
We plant our zinnia seeds in a soilless mix in plastic trays. They are planted approximately 1/4” deep. We then cover them with a thin layer of vermiculite.
After planting they are placed on heat mats until germinated, in approximately 5 to 24 days.
We have had great success with this method.
Don’t plant too early
I have found that zinnias grow so well inside under lights, that they can really take off with their growth, and can sometimes get a bit leggy before planting out.
I therefore try not to plant too early. We aim for planting out at the end of May in our zone, so we start our seeds at the end of March.
How long does it take to grow zinnias from seed?
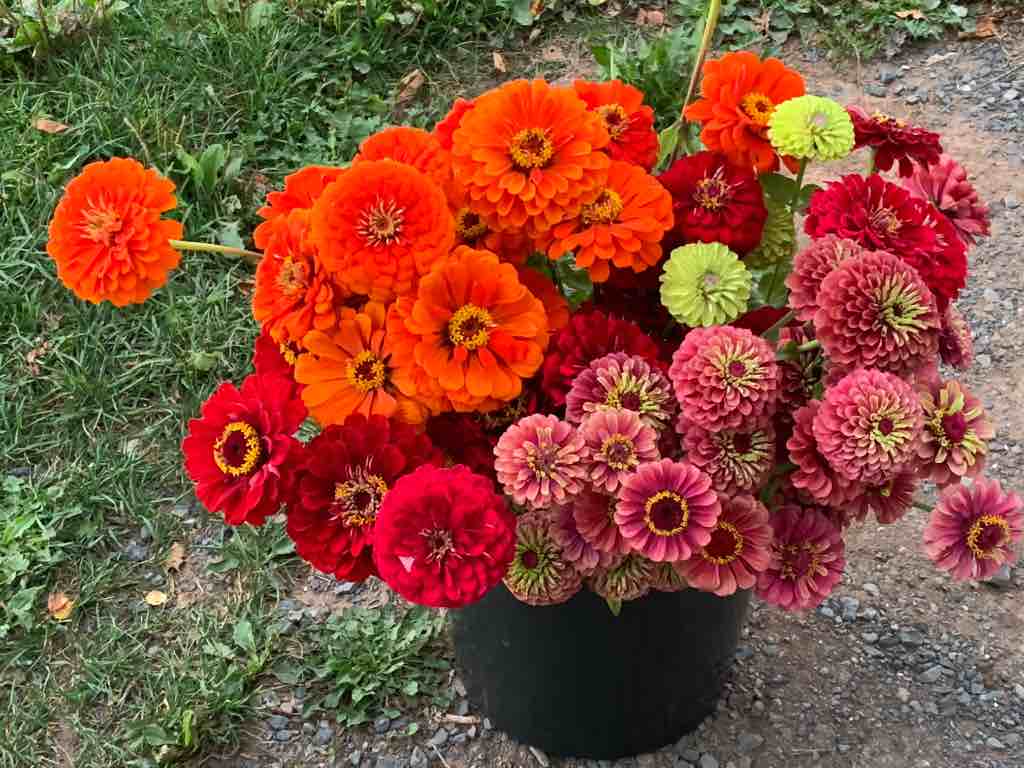
It can take up to 90 days for the zinnia plant to mature, and start producing beautiful blooms.
4. How To Care For Zinnias
-
Zinnias require just basic care to put on a good garden display.
-
They are a warm season flower, so they like warm soil, with moderate moisture, and some fertilization.
-
We plant our zinnias in landscape fabric 9” apart. The fabric reduces the weed pressure around the plants, and helps to warm the soil for these heat loving plants.
-
Zinnias do not tolerate frost, and their blooms will blemish very quickly even with a light frost.
-
Zinnias benefit from pinching when they are about 8” to 12” tall. Snip the top 3-4 inches, down to a set of leaves. This will encourage side branching and more flower production!
-
You can get your zinnias to bloom more by doing this pinching technique.
-
Deadheading spent blooms will also promote flowering.
-
Zinnias are considered to be a “cut and come again” type of flowering plant. This means that you can continue to cut them, and they will continue to form new branches and flowers all season long!
-
Zinnias can make your water murky in the vase, so clean water daily for longest lasting blooms.
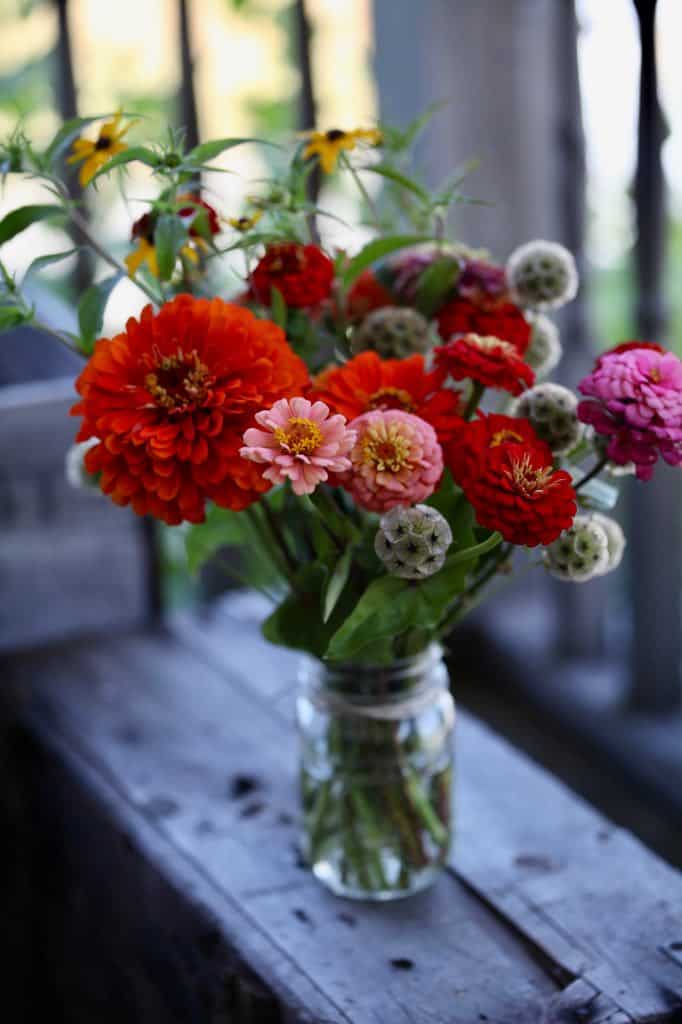
You can’t go wrong with choosing to grow zinnias. They are amazing plants, and just so cheerful and colourful!
5. How To Cut Zinnias
It can be a little confusing when you are first learning to cut your zinnia flowers.
Cutting deep into the plant produces long and healthy stems on future blooms. Follow an individual bloom down along the stem to the base of the plant.
Cut above a set of leaves. Trim off side branches to your zinnia stem, leaving only the flower and a few leaves at the top of the stem.
Zinnias are “cut and come again”, so you can keep on cutting on each plant throughout the season, for a steady supply of blooms.
Do the wiggle test to weed out immature blooms
Immature blooms have a tendency for weak necks, which can bend, break, or snap off.
It’s sometimes difficult to tell if the blooms are mature just by looking. The Benary’s Giants can be big and look ready for harvesting, but still not be mature enough.
I have made this mistake a few times.
Now I always do the wiggle test.
Hold the stem approximately 2” to 3”below the zinnia bloom.
Move the stem quickly from side to side.
If the bloom wiggles back and forth, this means that the bloom and stem are immature, and are at risk for bending and breaking if cut at this stage.
If the bloom does not wiggle, but stays straight and stiff between your fingers, it is time to cut!
How to deadhead zinnias
Follow the spent bloom to the base of the stem, where the stem meets the next set of leaves. Cut at this location.
6. Save Seed For The Next Season
Zinnias are an annual flower, and therefore do not come back every year unless grown again from seed.
However, it is so easy to save zinnia seed.
This year we saved seeds from each variety that we grew on the farm.
To save mature seed, allow the the spent bloom to mature and dry on the plant. At the end of the season we cut off the flowers and put them in trays lined with kraft paper to allow them to dry out some more.
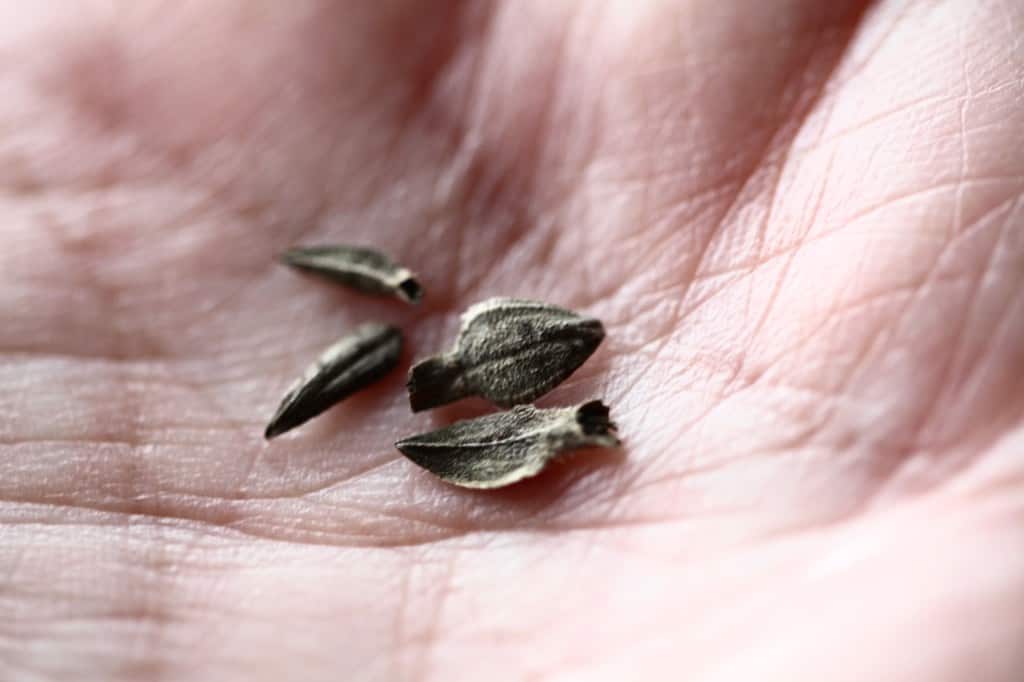
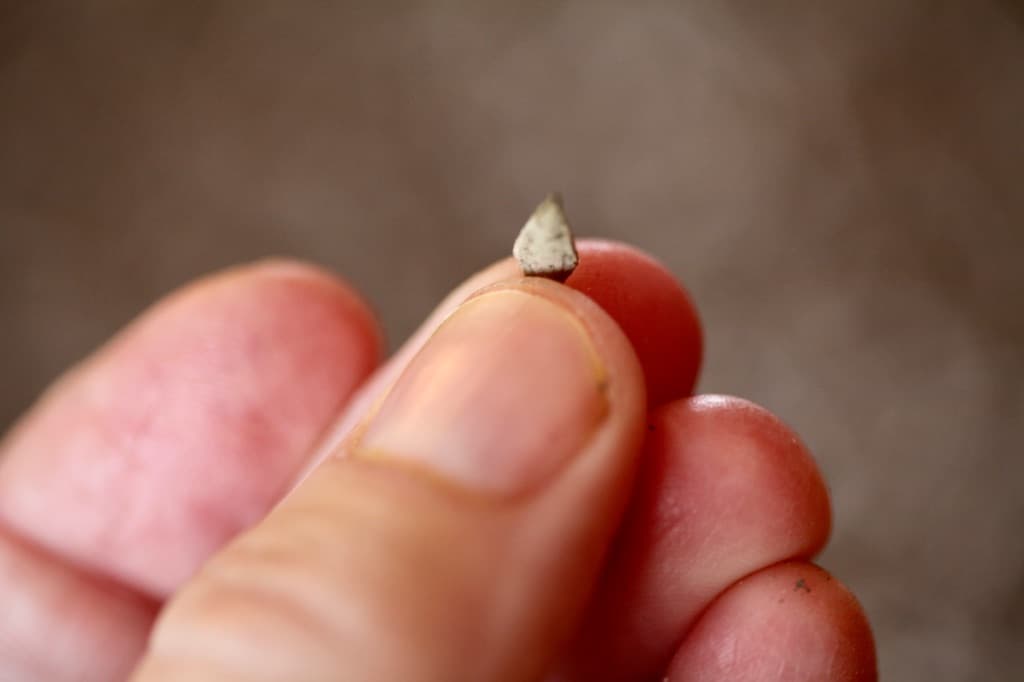
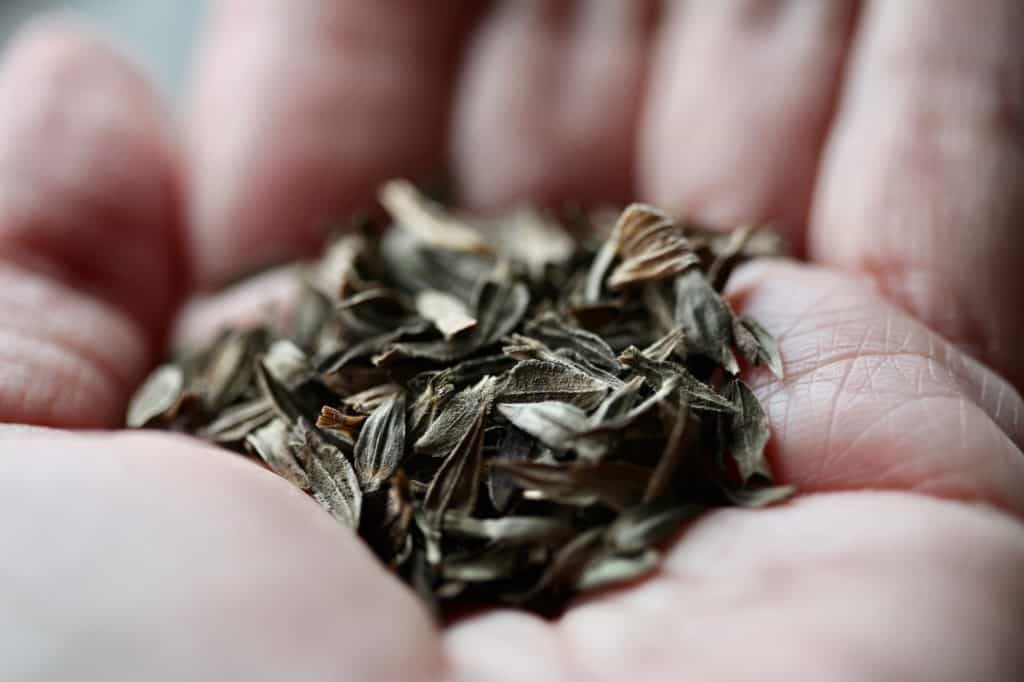
The seeds are easy to find on the flower head. They are shaped like little arrowheads. Some are found at the base of the dried petals. Others just fall out of the dried centres when held upside down.
Store your saved seed in a labeled envelope, in a cool space if possible. Zinnia seed does not need cold storage or stratification for germination.
7. Consider Drying Zinnias For Dried Flower Projects
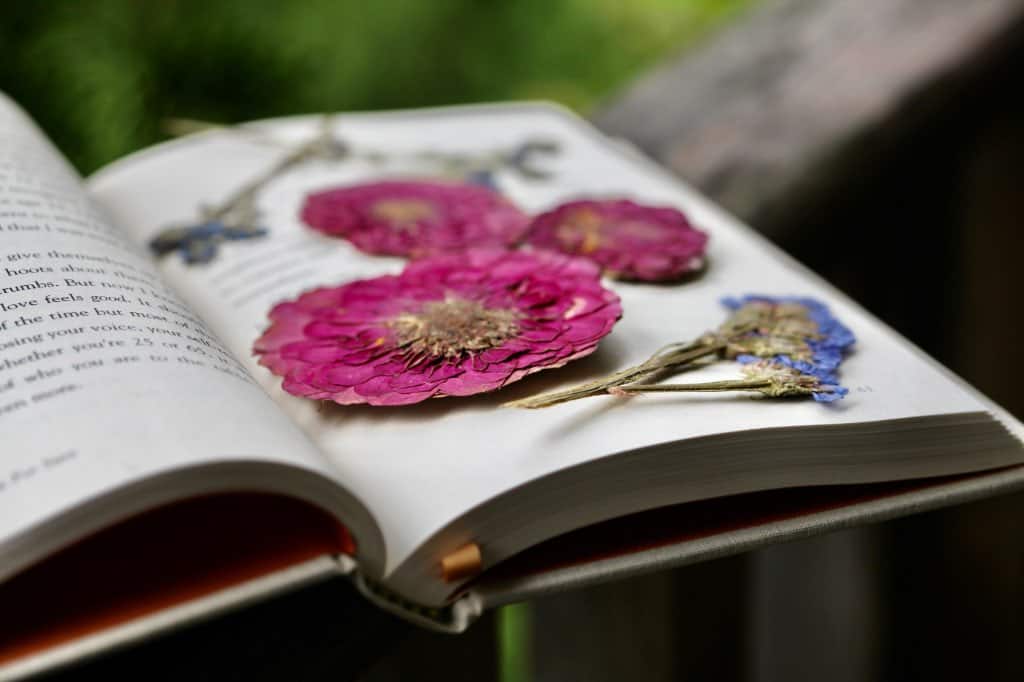
Many of the flowers grown on our farm can be dried for use in wonderful everlasting creations, such as dried flower bouquets, wreaths, shadow boxes and potpourri.
Zinnia is no exception, and can easily be dried while maintaining it’s color.
The best way to dry zinnias is in silica gel over a period of 2 weeks.
We will be experimenting with other ways to dry our flowers, and will keep you up to date!
If you have dried zinnias, I would love to hear your experiences! You can leave a comment down below!
Do you have any tips for growing great zinnias for cut flowers? Please be sure to leave a comment below to share your experience!
Other Posts You May Like:
See the Web Story on Growing Great Zinnias For Cut Flowers!
PIN IT FOR LATER!

Leave a Reply